I built a case for my first Raspberry Pi out of an old CD-ROM. Here’s a post about it.
Components
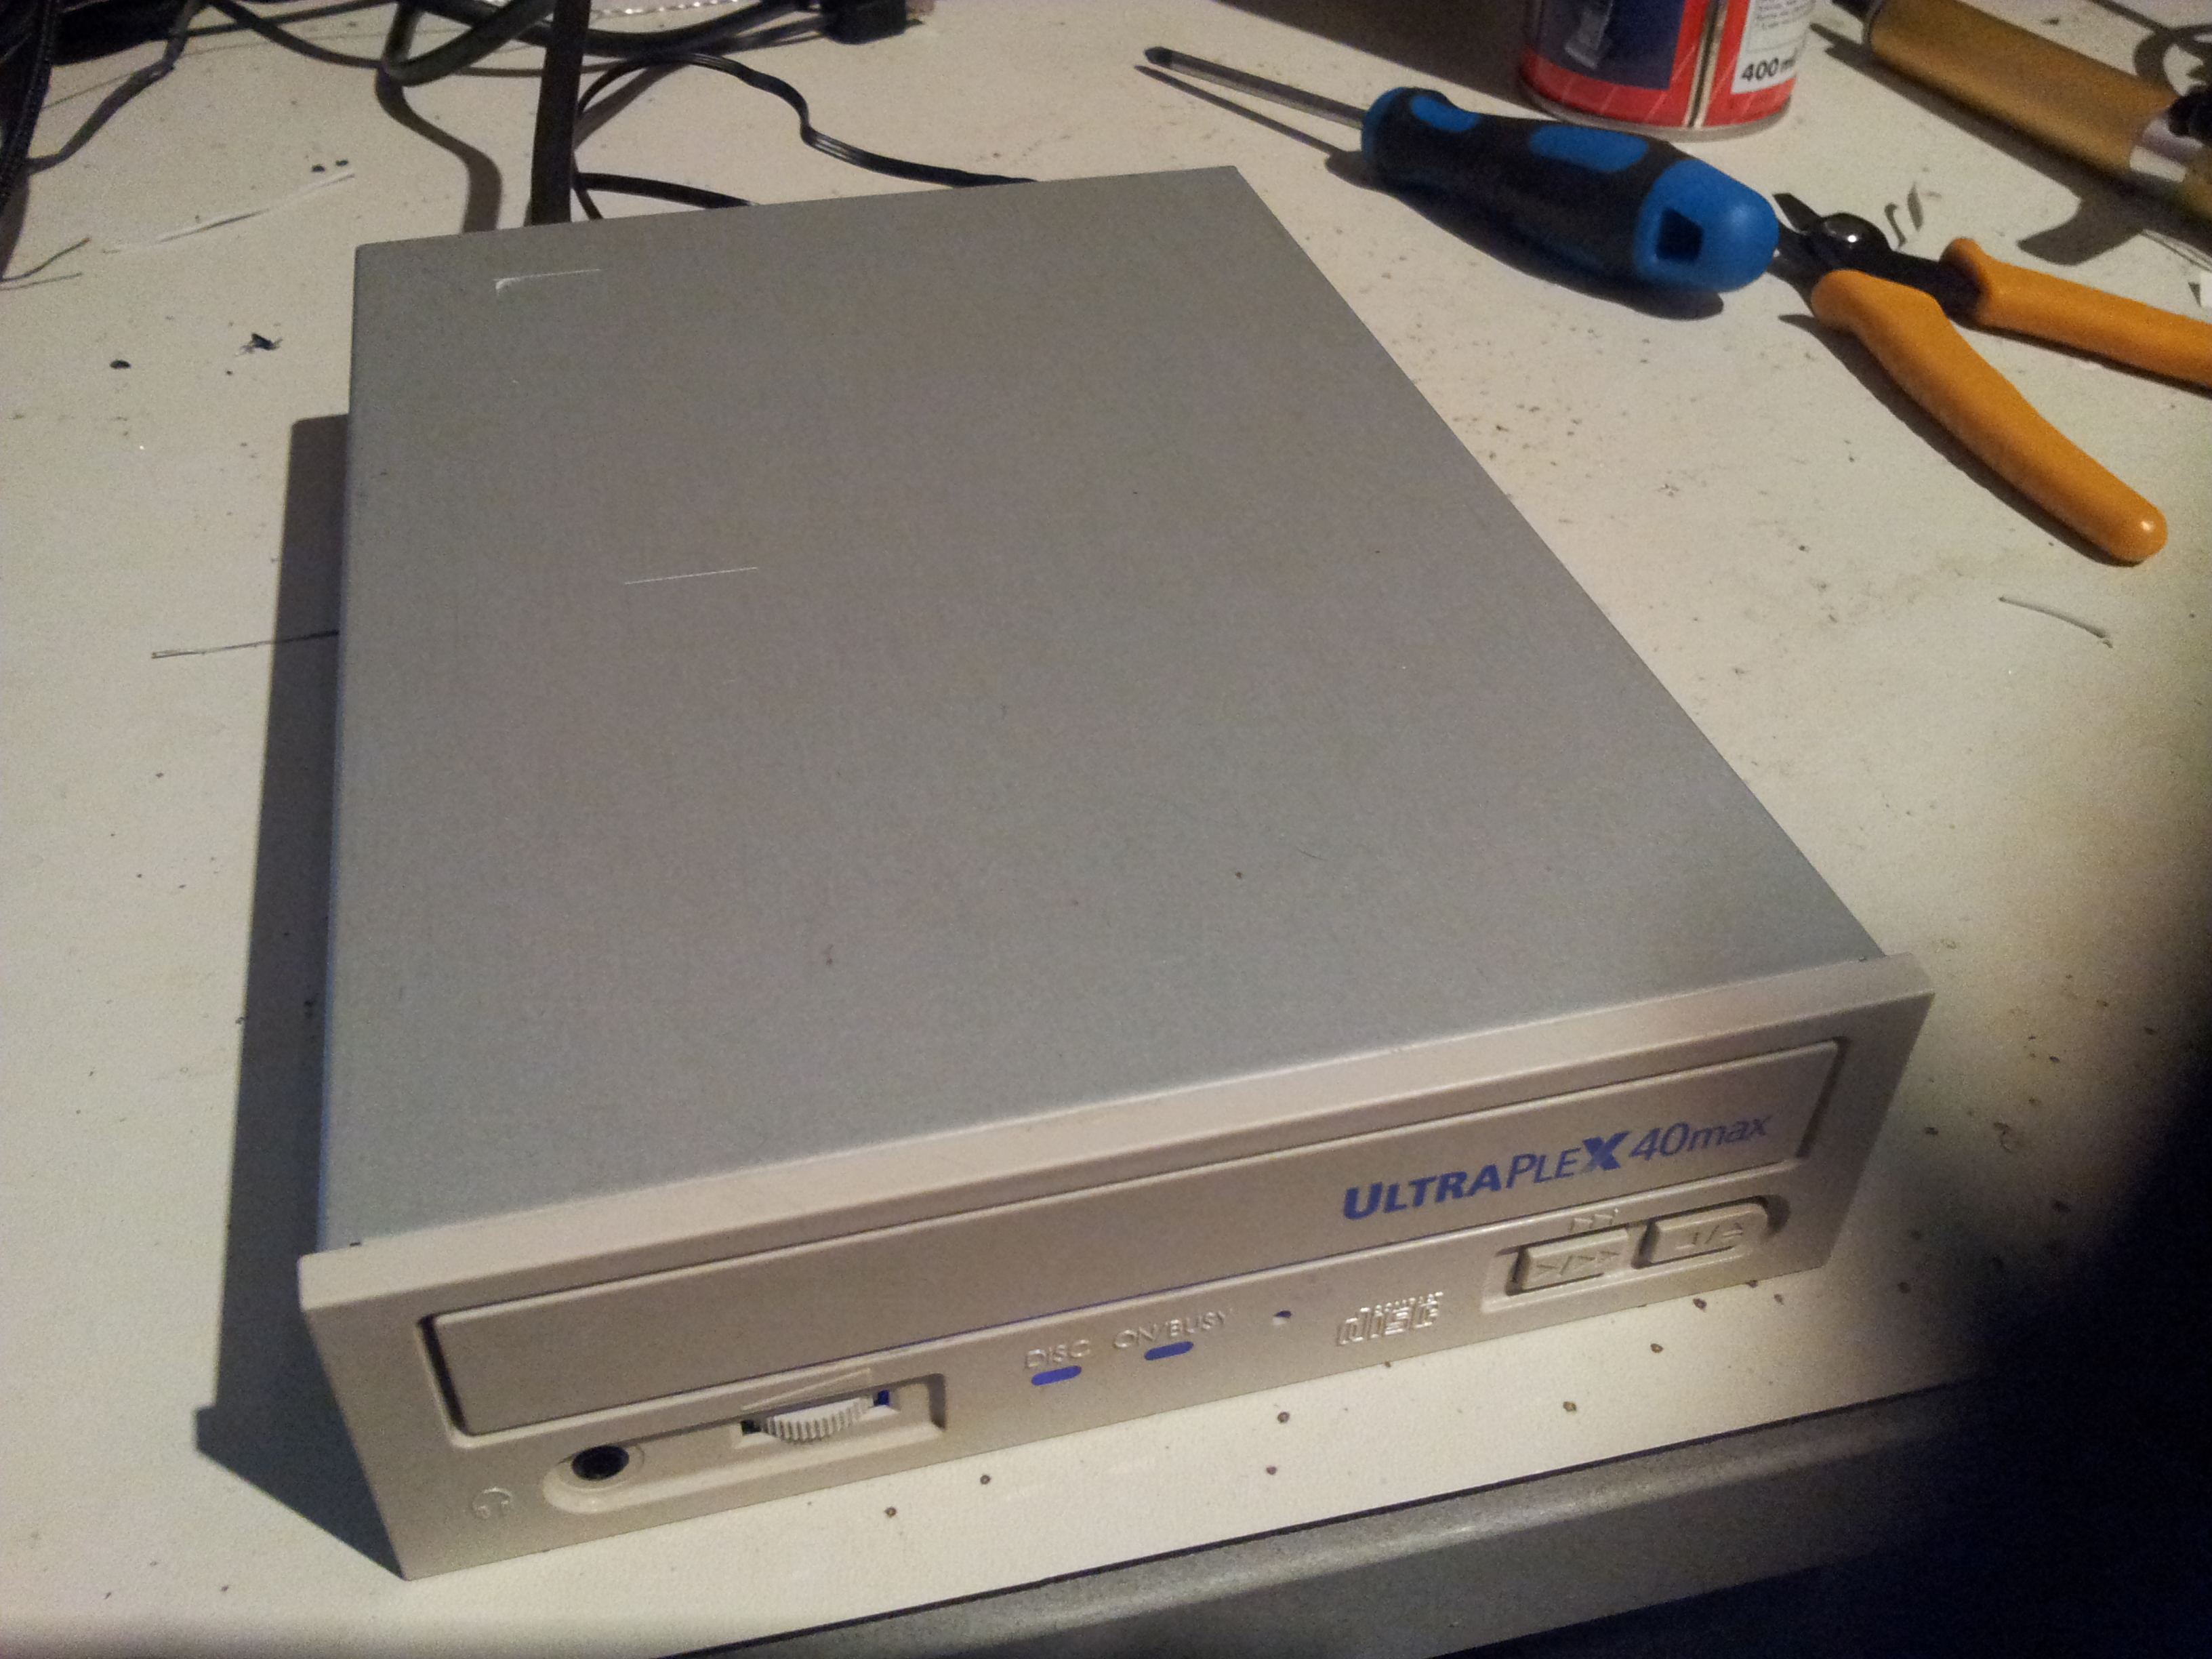
- Plextor UltraPlex 40 Max SCSI CD-ROM (faulty)
- Asus WL-330N3G wireless client
- Vanson Twin-USB Power Adaptor (2A, 5V, model SMP-600A005USB)
- A power cable, a short HDMI extension cable, an audio cable, an IDE cable and some other wires
- Some memory heatsinks for the Pi
- Some plexi glass
- Two 2N3904 NPN transistors, two 0.25W 300 ohm resistors
- A Raspberry Pi model B, rev. 1
- Probably some more stuff that I forgot about
What, why, how?
I decided the Raspberry Pi hanging around in the livingroom, mostly running pianobar while connected to the stereo, needed a case. It was already divided into several components connected by random, curled up cables and it wasn’t pretty. The Raspberry Pi may look small and convenient, but that’s just until you realize you need a power supply, wireless capabilities and whatever else you expect to find in a computer.
Anyway, I had an old Plextor CD-ROM in the parts bin and decided to try and use it as the new home for my Pi.
Current state
- The Pi works and runs quite cool
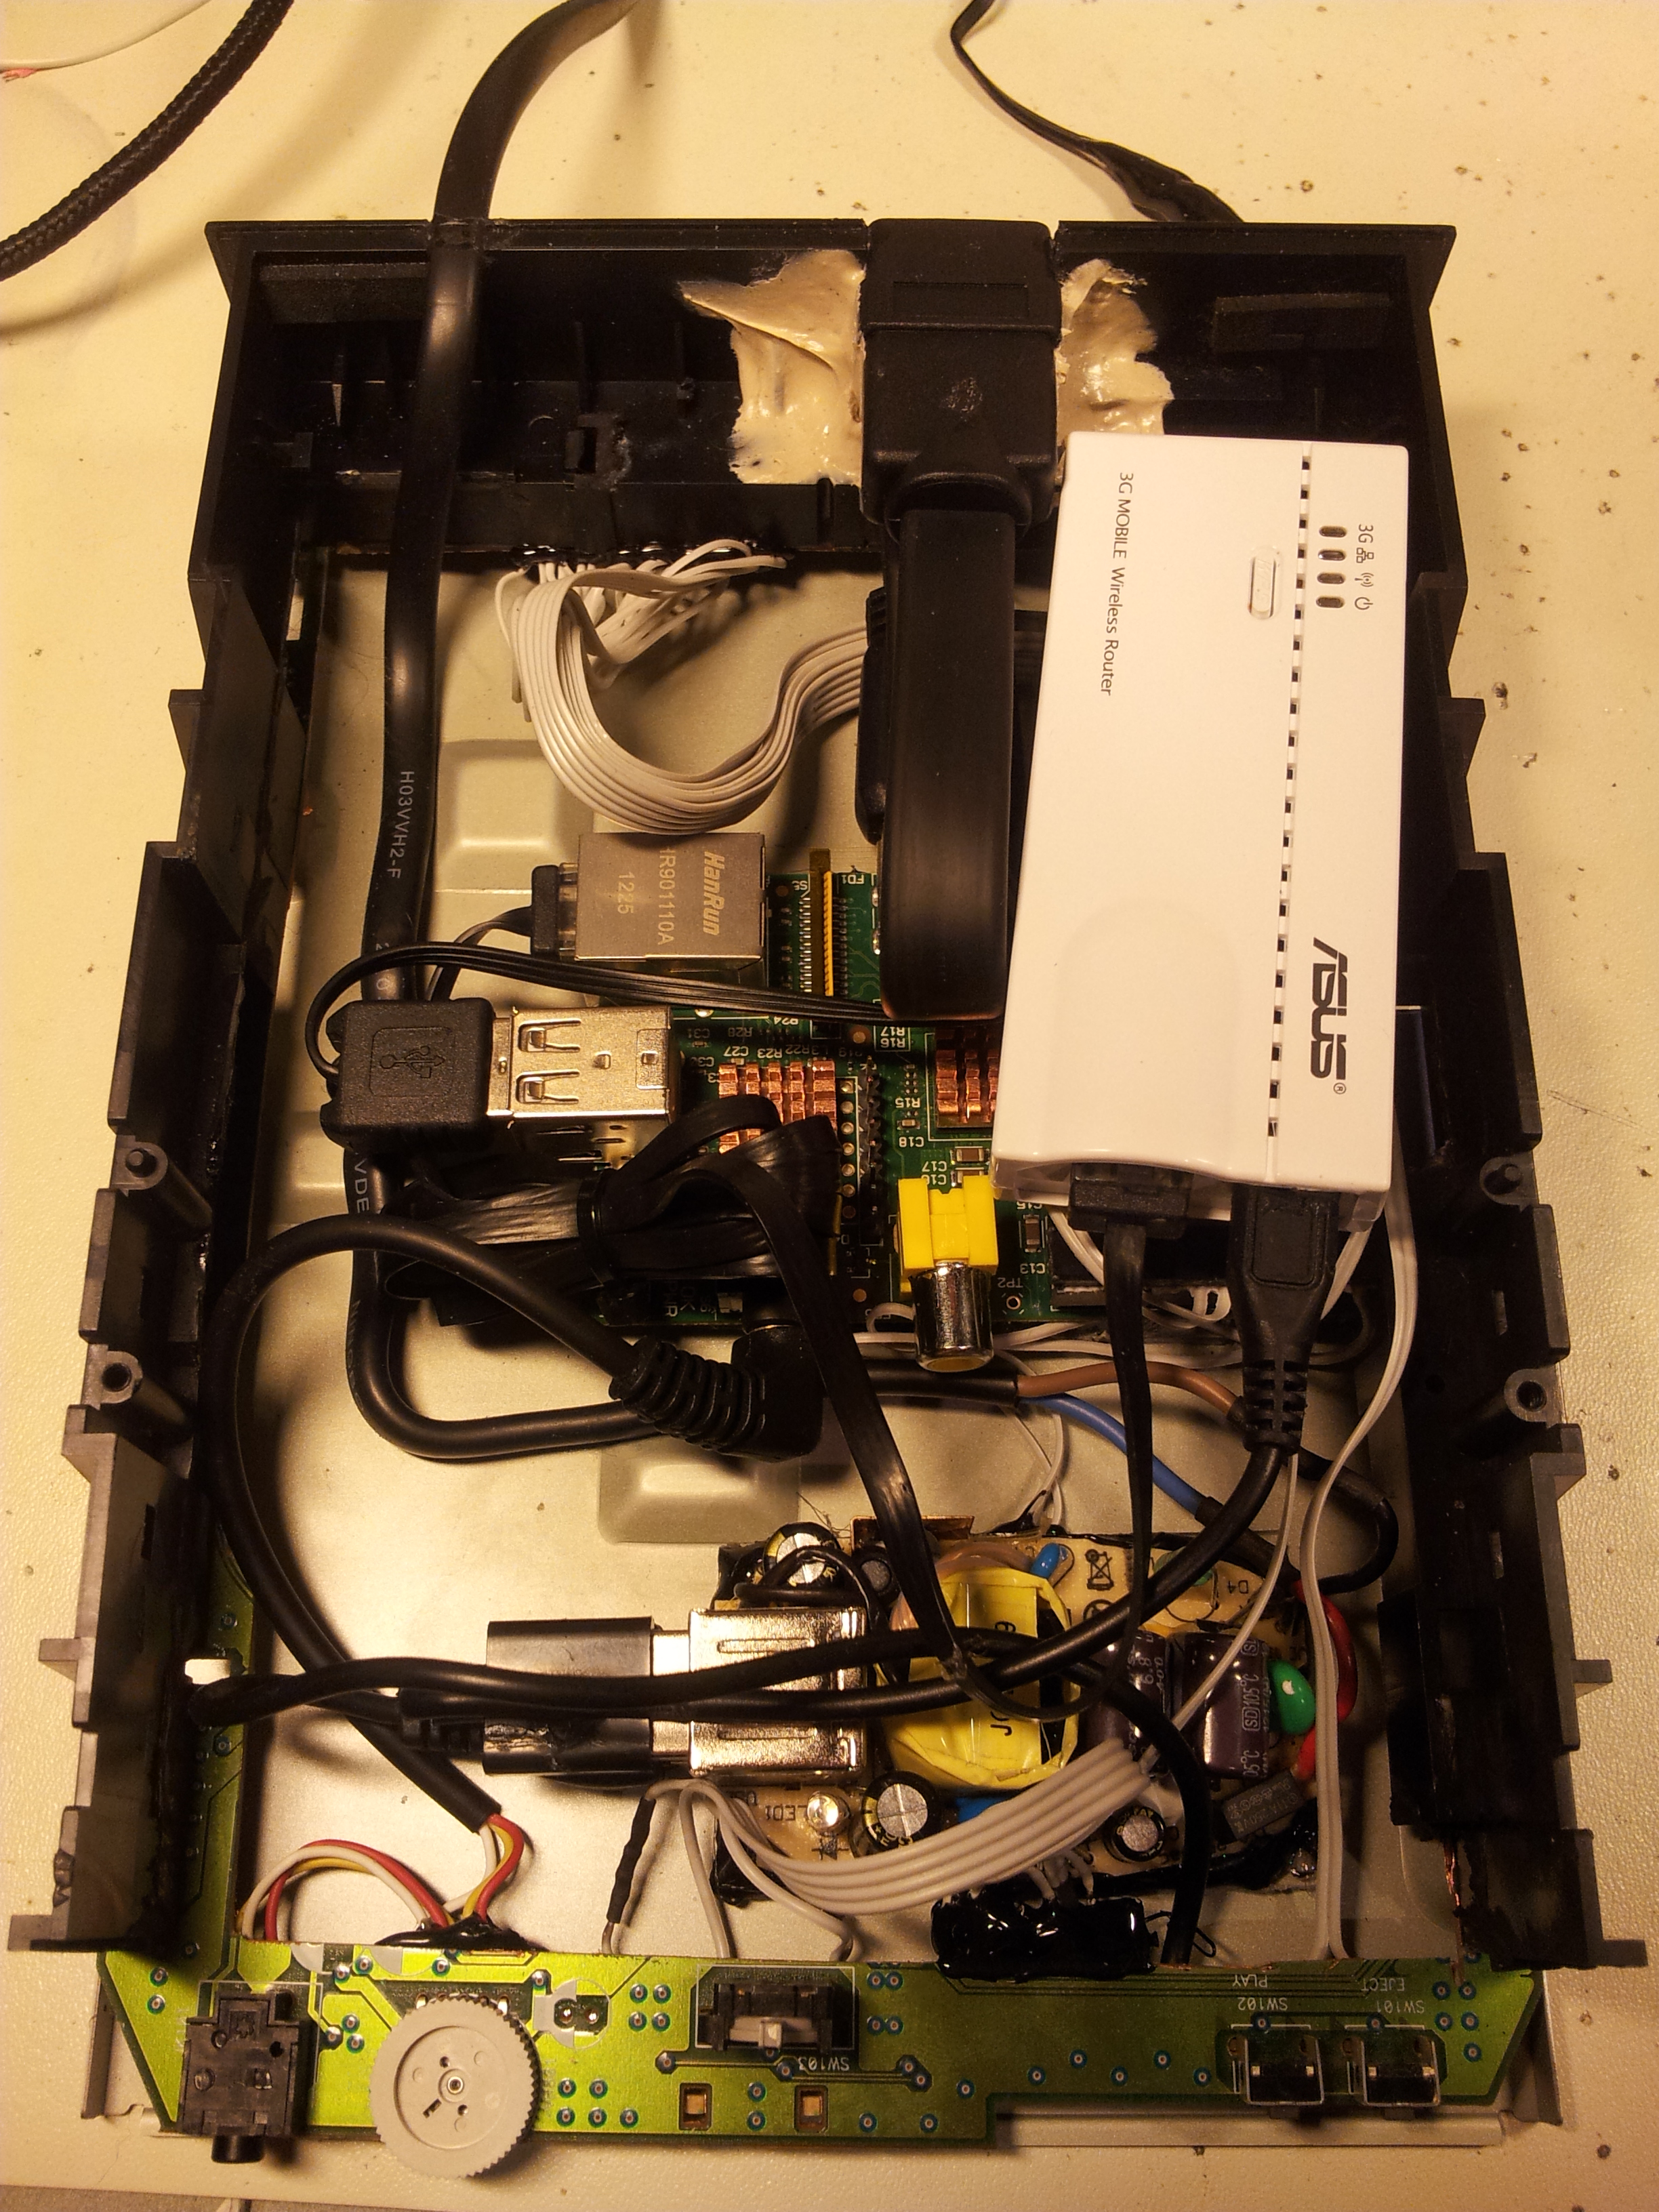
- Power is connected to the Pi through the 5V and GND GPIO pins, as a USB cable on the power connector side would poke out of the case. Also, they’re soldered to the bottom of the PSU, saving one USB port for other use.
- The Pi and the power supply are both mounted on plexiglass, for insulation, which in turn is attached to the case
- Wireless is offloaded through the Asus wireless device, making the Pi think it’s connected to my network via cable
- Sound output on the front of the case works, volume control works
- The play and stop/eject buttons on the front are connected to GPIO, and clicks are registered, though I haven’t figured out what I want them to do
- The DISC and ON/BUSY leds on the front work and are controlled by software
- USB is available on the back with a modified cable which fits the analog audio connector at the back
- All GPIO pins are available on the SCSI connector at the back
- HDMI on the back
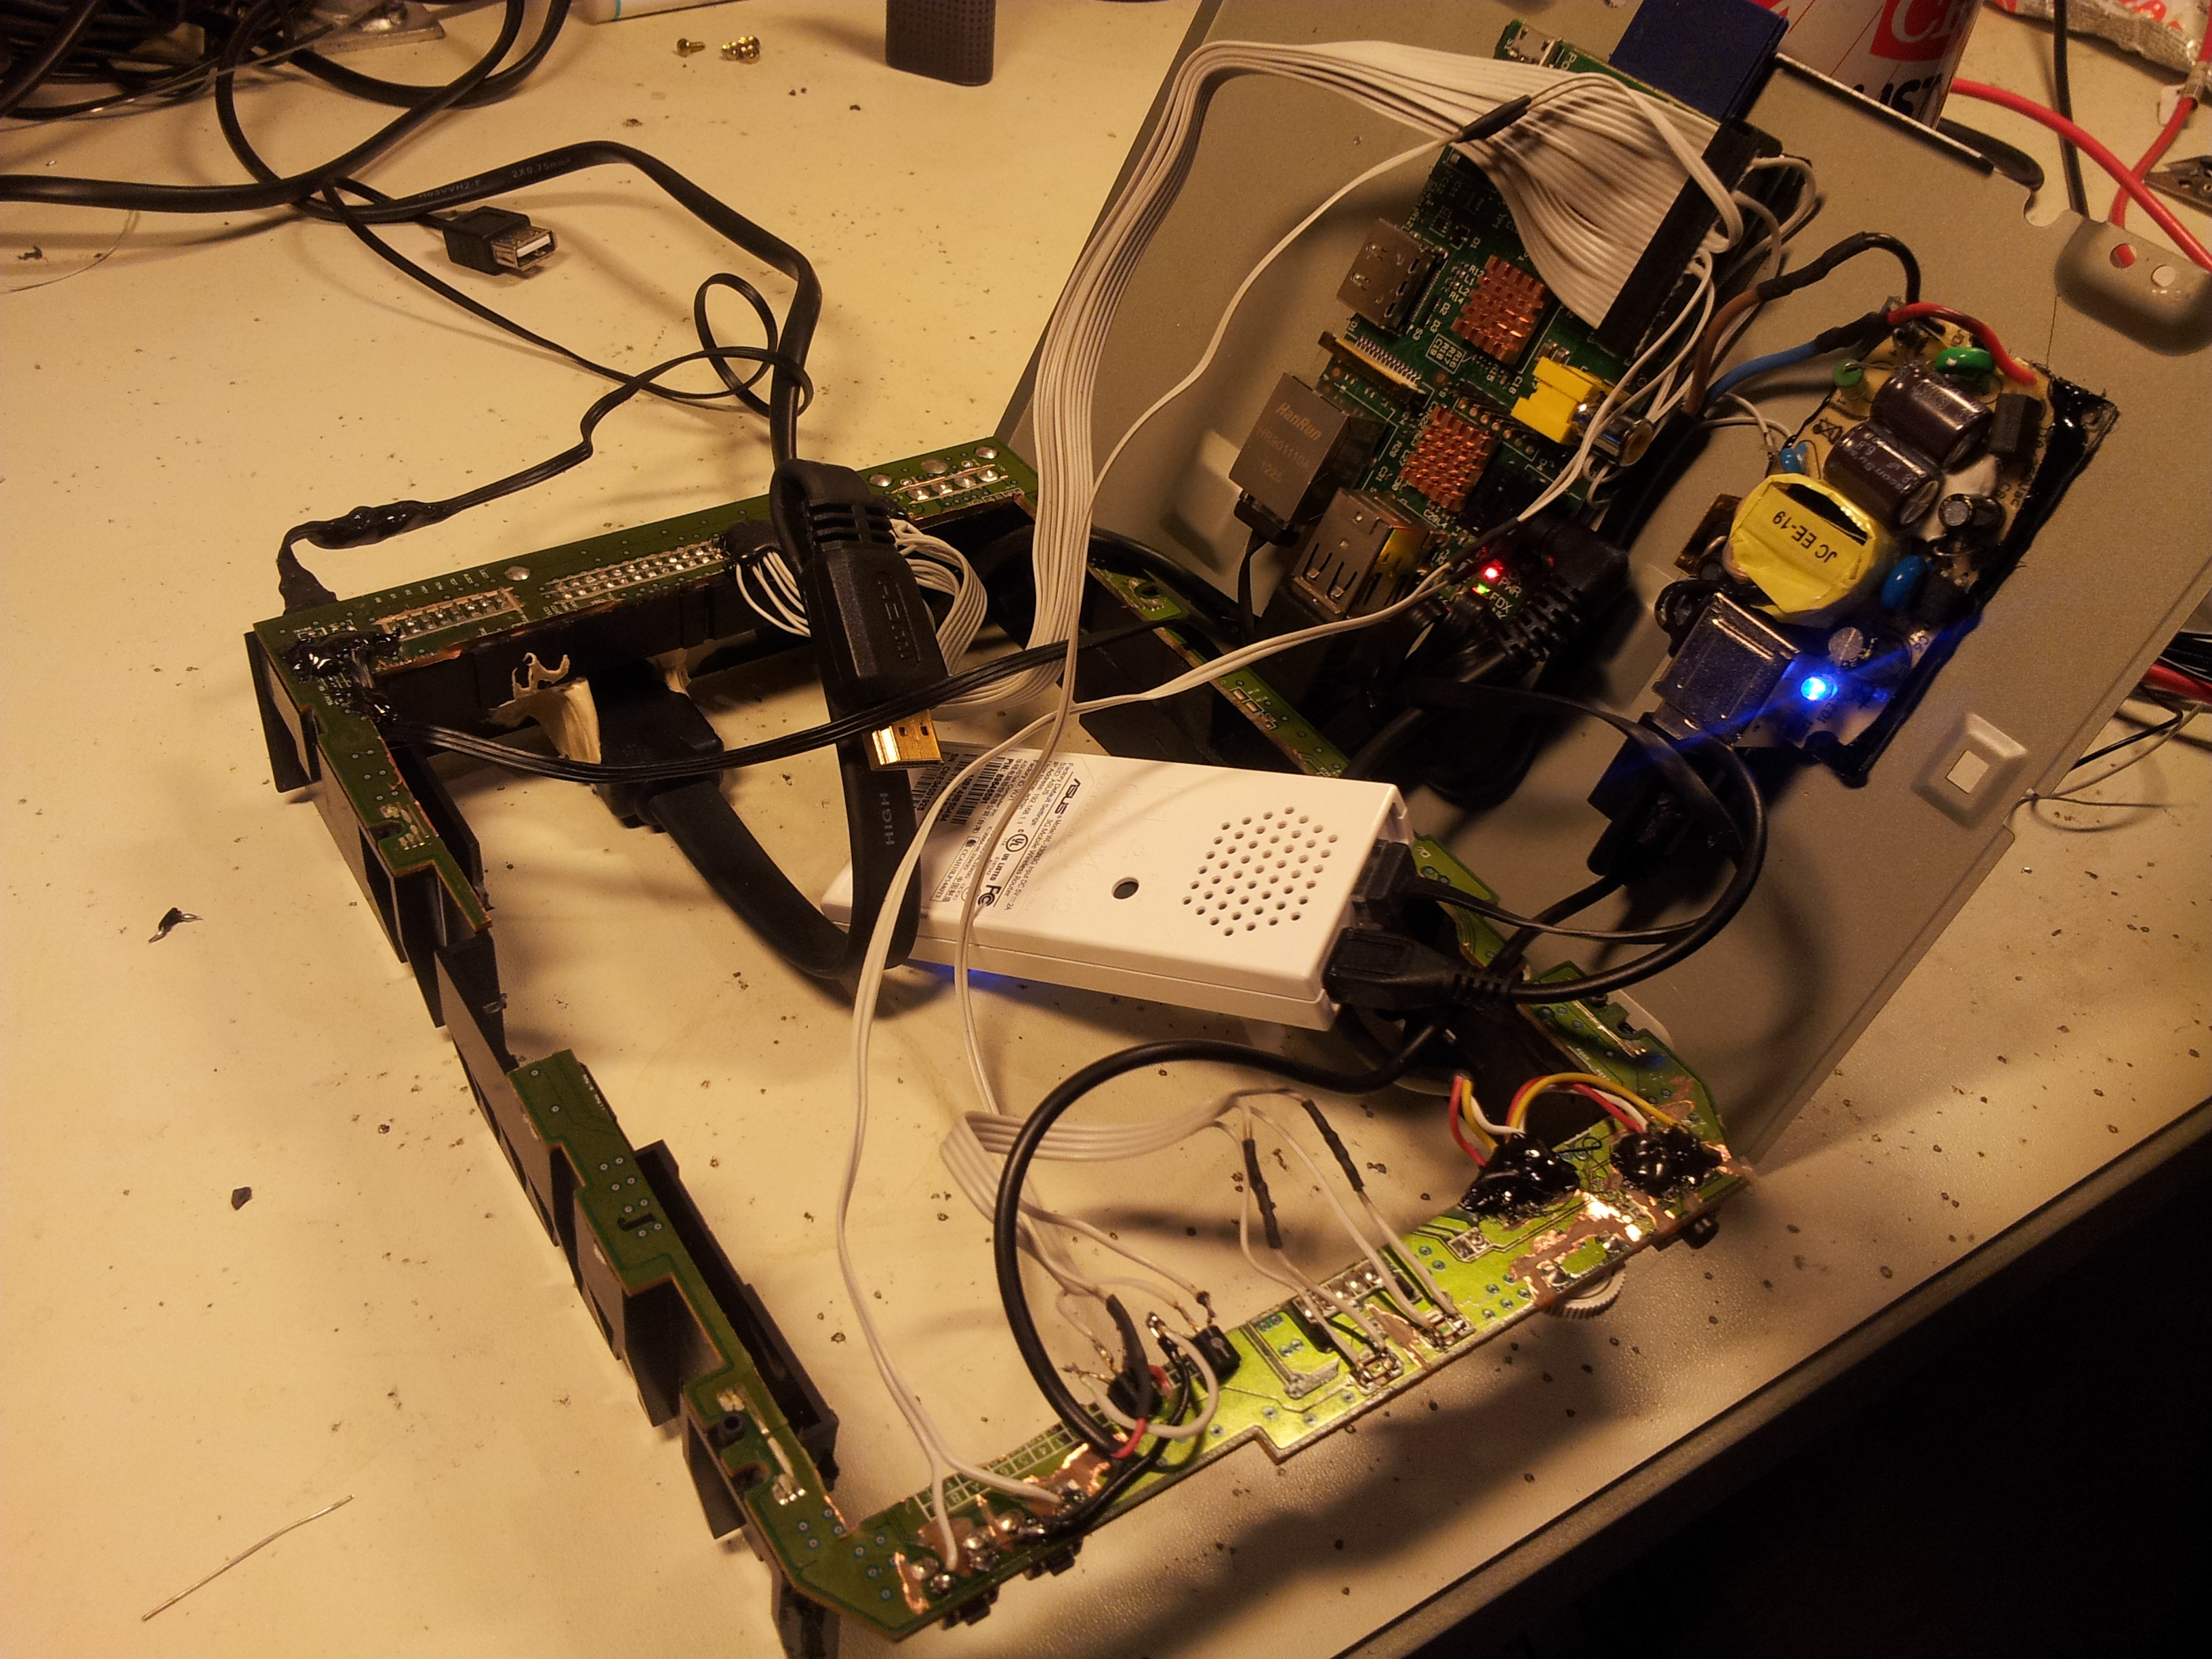
- Memory card peeks out about two millimeters through a slot on the right side of the case (can be seen at the left in the last image)
- Runs Raspbian 🙂
GPIO
As stated above, the GPIO ports are all available on the SCSI connector on the back of the CD-ROM. I plan to do something interesting with them later. However, I am already using some of them internally. Firstly, I power the Pi using the 5V and GND pins instead of the micro USB port. I also use two pins for the front lights, and two pins for the front buttons. I wrote a small python script to control these for now. Currently, the “disc” light lights up unless a button is pressed (for testing the buttons), and the “on/busy” light lights up randomly based on the load. If the load is >=1.0, it will stay on constantly, otherwise it blinks simulating random CD-ROM reads.
To wire these up, I gutted a USB cable to provide ground to the buttons and power for two 2N3904 transistors. Since the Python GPIO library for the Pi now has pull-up functionality, the pin from the Pi can go directly on the other connector of the button. No additional components needed. For the lights, I used the 2N3904 transistors to provide sufficient current without stressing the Broadcom chip onthe Pi. I connected their base to the GPIO pins. Power is provided from the gutted USB cable and passed through a 300 ohm resistor on the way to the LED’s.
Pictures