So, during spring cleaning, a used iMac was discovered at work. I figured it could be used for something, so I set it up on a table. It only booted to recovery mode, so I had to reinstall it. Simple, right? No, of course not! This is an Apple product.
Apple ID needed
So, booting into the recovery mode, there’s a built-in option to reinstall the operating system. Nice. However, it immediately asks for an Apple ID. So I go make one, in a browser on another machine. You can’t use the one you’re installing to. Then I connect the iMac to the WiFi and log in.
DENIED:

Apple wants all your information
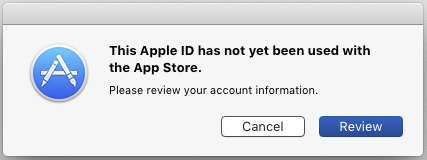
So, I can’t reinstall without “using the Apple ID with the App Store”. How does one do that? A bit of Google action informed me that I needed to give them a credit card. What the heck?!
I’m not aware of any other manufacturer who requires you to provide your credit card details in order to reinstall their operating system.
So I grab my VISA card, put in the details on appleid.apple.com, and try to log in on the iMac again. No luck.

Turns out I have to restart the recovery installer to log in again. Great job, Apple. So I restart, sign in again, and get the same message as before, saying “This Apple ID has not yet been used with the App Store”.
You need iTunes
Apparently, I don’t have to review my account information as the message says, I have to accept the license agreement. How do you do that? The forums told me to use iTunes. What the heck, again?!
So, I fire up a disposable virtual machine, install Apple’s bloated music/store software, log in, accept the license agreement, restart the iMac again and log in with the account once more.
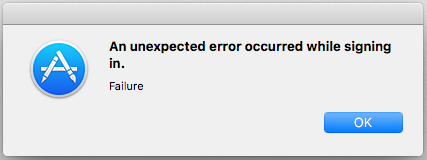
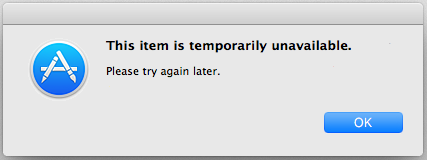
DENIED AGAIN:

Who’s the previous owner?
According to the Apple forums, the reason for the above error message is that my freshly created Apple ID is not associated with the version of Mac OS (El Capitan) I’m installing on this machine. I haven’t bought it, which is obviously true, as it’s simply what was on this machine that was in storage.
Various people have solved this by using the Apple ID that was originally used to install the machine. Not an option. I have no idea who originally installed this machine.
Full reinstall from a USB stick
Some more time on Google told me that a clean install from a USB stick was the way around this account issue. So now I need the El Capitan installation image. This used to be available in the App Store, but of course Apple removed that.
So, more Google, and I found the .dmg image on allpcworld.com. I tried various processes to get this image onto a USB stick, but in the end the only method that produced a bootable stick was to mount the .dmg on another mac, and then run an adaptation of the following commands:
$ cd /Volumes/Install\ OS\ X\ El\ Capitan/Install\ OS\ X\ El\ Capitan.app/Contents/Resources
$ sudo ./createinstallmedia --volume /Volumes/My\ USB\ Stick/ --applicationpath /Volumes/Install\ OS\ X\ El\ Capitan/Install\ OS\ X\ El\ Capitan.app/
This created a USB stick the iMac would boot. Not in any given USB port, mind you. For the USB stick to be detected, I needed to put it in the rightmost USB port when the iMac is viewed from the back.
Holding the “alt” (“option”) key on the keyboard when turning the iMac on made the USB stick show up as a bootable drive.
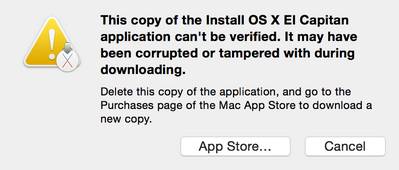
This copy can’t be verified
That’s right. Cue more hurdles.

So the iMac boots from the USB stick, but it can’t verify the image. Turns out this is because the date and time on the machine is wrong. Obviously.
Luckily, there’s a terminal available on the utilities menu at the top of the screen. I set the date using the “date” command. The solution was found in this rather shaky video.
# date 0202020216
Tue  2 Feb 2016 02:02:00 CET
Then you can close the terminal and run the installer again.
Finally installed
The rest of the installation took ages, probably due to the rather slow USB stick I selected for the job. Regardless, the rest of the procedure was fairly uneventful.
The iMac is up and running, and I like Apple even less than I did previously.
1 Comment
You sir save me, 2020 and stuck with this problem, Ty a lot