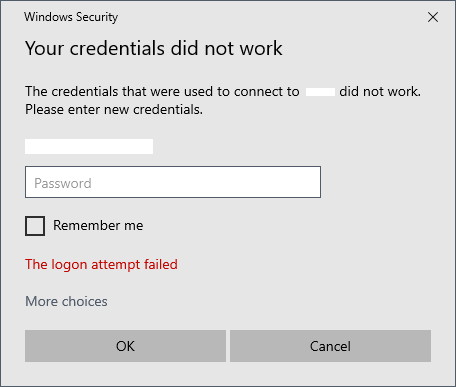
If you attempt to connect to a machine that’s enrolled in Azure AD from a workstation that’s not part of the domain, like your desktop or laptop at home, you’ve likely encountered this issue.
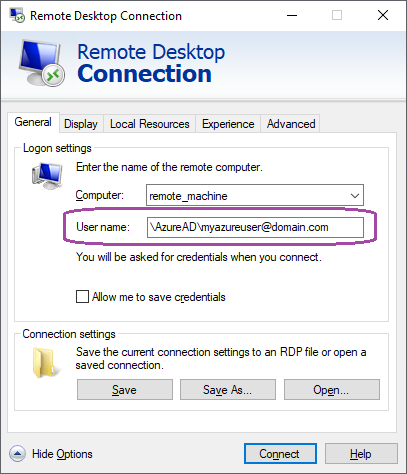
Firstly, we should get a few basics out of the way. You need a correct username and password. When your user is in AzureAD, you need to specify your username as such:
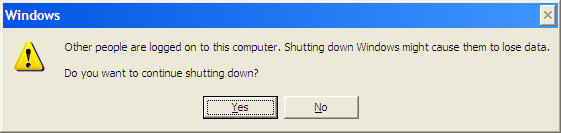
You also need to log into the target machine and allow remotely showing the login screen through RDP, which means disabling the requirement to use Network Level Authentication. This will allow you to log in interactively:
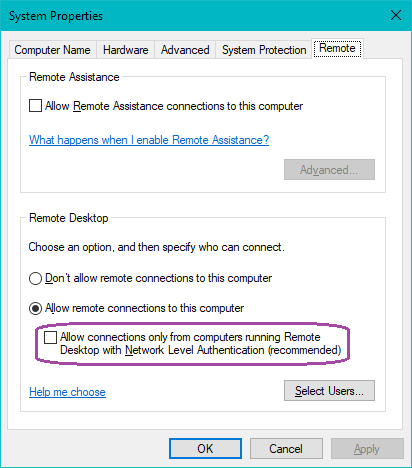
Note that the checkbox must be deselected for interactive login sessions to work.
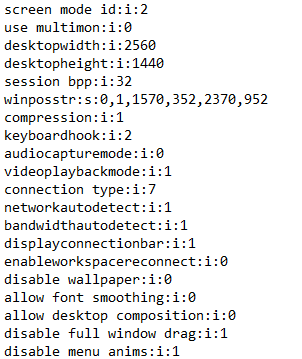
Now we need to go about modifying our .rdp files. You can get a .rdp file by pressing “Save As” in the Remote Desktop Connection window. Open the file with Notepad (or your favorite editor), and you’ll get lines such as these:
At the end of the file, we need to enable support for CredSSP if you want to connect to an AzureAD enrolled machine. Add a line like this:
enablecredsspsupport:i:0
You can also put your username in the file, with the domain, as such:
enablecredsspsupport:i:0
username:s:\AzureAD\myazureuser@domain.com
You can also put your password in the file, though I don’t recommend the latter. This is likely to be a company computer, after all. Check your IT policies and proceed at your own risk.
Here be monsters.
Passwords in the .rdp file can be encrypted as SecureStrings. You can generate them with PowerShell. Keep in mind that SecureStrings are encrypted using your current account, so you have to do this while logged in on the machine on which you want to use the .rdp file. The client, not the remote machine.
> "Hunter2" | ConvertTo-SecureString -AsPlainText -Force | ConvertFrom-SecureString
01000000d08c9ddf0115d1118c7a00c04fc297eb010000000f16d2079232d84babe49f4bac6617ef0000000002000000000003660000c00000001000000072b47796dcf3b4df632972f45d83ff8a0000000004800000a000000010000000230f0d13e136c1543b80d8f6c3a206e110000000ff1532a09e3140c31fabac391962d02614000000686ce522def23fb7921c0029305060e0fd28042b
All of that garble is your encrypted password (Hunter2). Your password is now also stored in your PowerShell. Not good. If you do this without specifying the password, it’ll ask you. Better. Slightly.
ConvertTo-SecureString -AsPlainText -Force | ConvertFrom-SecureString

You can put the password (if you really want to) into your .rdp file as such:
enablecredsspsupport:i:0
username:s:\AzureAD\myazureuser@domain.com
password 51:b:01000000d08c9ddf0115d1118c7a00c04fc297eb010000000f16d2079232d84babe49f4bac6617ef0000000002000000000003660000c000000010000000e686a1ac13248c81a2c9abb56082452f0000000004800000a0000000100000002a071ce0035f888093d04bdc4d8716aa100000005590842a9ba86481072a0e444971e7e014000000871ea7bed2d1abdc67222644e9a4c98addb76b7b
Note: The syntax is “password 51:b:encryptedpasswordhere“. There’s a space, not a newline. Don’t trust your browser.
Happy remote working!